Joomla is an award-winning content management system (CMS), which enables you to build Web sites and powerful online applications. Many aspects, including its ease-of-use and extensibility, have made Joomla the most popular Web site software available.
Best of all, Joomla is an open source solution that is freely available to everyone.
{mobile_block=responsive_ad_2_300_250}
In our previous article we wrote what's new in Joomla 3.0 and now we'll show you how to install Joomla 3.0 with step-by-step guide.
Joomla 3.0 requirements
The following requirement changes are in effect for Joomla 3.0:
- The minimum version of PHP required is PHP 5.3.1
- PHP's register_globals must be turned off
- PHP's magic_quotes_gpc must be disabled
Joomla 3.0 installation guide
1) Download Joomla v3.0 from http://www.joomla.org/download.html
2) Upload the files to your server
3) Create a database for Joomla 3.0
Joomla requires a database for installation so you need to create one.
Note: Be sure to take note of your database name, database username, and database password. You will need these later during the installation.
4) Run the Joomla 3.0 installation wizard
In our testing we installed Joomla 3.0 into a subfolder named joomla30. To access the installation wizard we will go to http://sitename.com/joomla30 or http://localhost/joomla30 if we want to install Joomla 3.0 on local machine (e.g. in XAMPP)
If you get any error messages about the version of PHP your server is running, click here for further help.
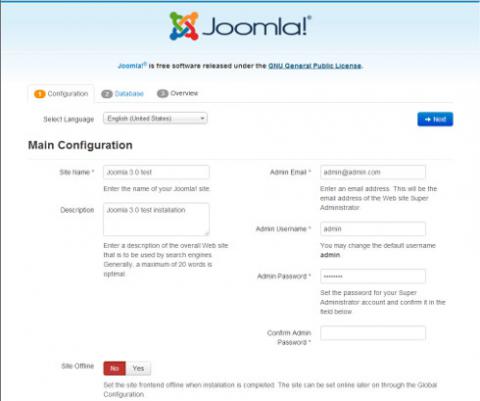
a. Configuration
On the configuration page, you'll need to select your language, enter a name and description for your site, and setup your administrative details (such as username, password, and email address). After you entered details, click Next to continue the installation.
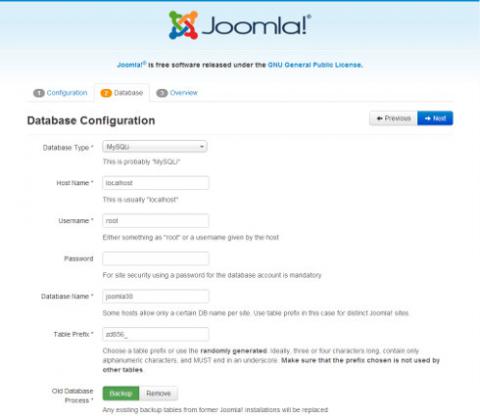
b. Database
Enter details you setup in database creation above. On most servers, you can set the Database Type to MySQLi and set the Host Name to localhost. When finished entering your database credentials, click Next.
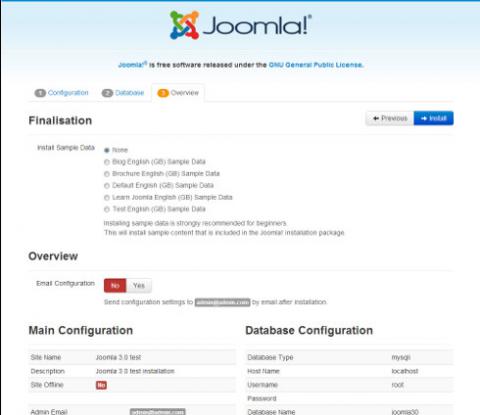
c. Overview
If this is your first time using Joomla 3.0, you may want to use the option to install sample data. This will help you learn how Joomla 3.0 works because your new Joomla website will include sample articles.
{mobile_block=responsive_ad_728_90}
Also, you can select Yes next to Email Configuration if you want to have a copy of the installation details emailed to you. When finished with this page, click the Install button.
5) The Joomla 3.0 installation wizard will display progress on your screen

6) After Joomla 3.0 is installed you'll see a success message.
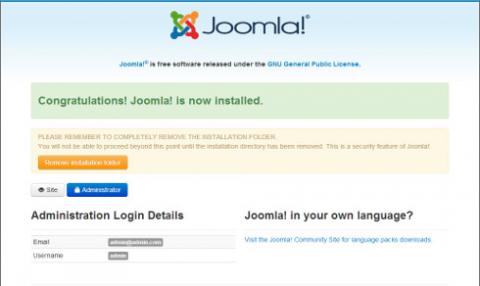
7) Click the Remove installation folder button.
Now you are free to log into your Joomla 3.0 dashboard and begin writing your first articles.
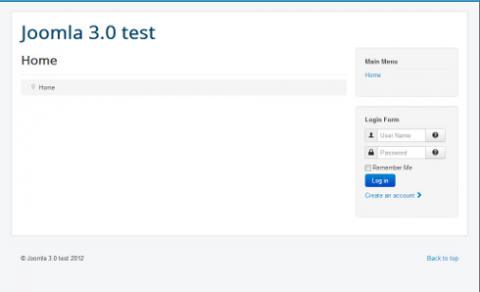
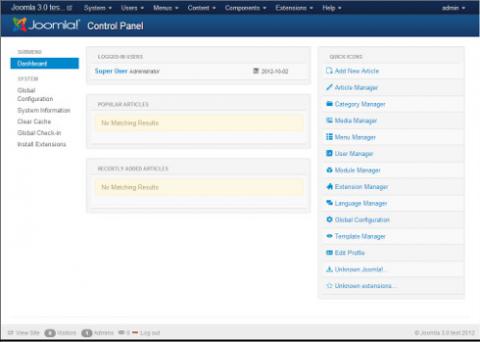
In one of our next articles we'll describe you how to create articles in Joomla 3.0.
{mobile_block=responsive_ad_2_300_250}